ACME 패키지를 설치하고 셋팅하면 된다고
+
2024.04.02
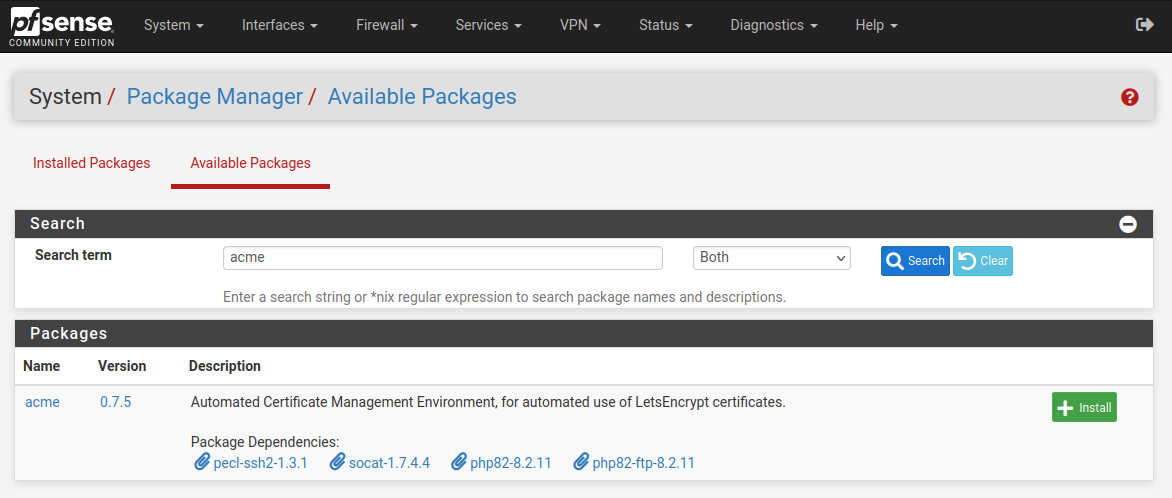
Package 중에 acem 검색해서 설치. LetsEncrypt certifiaces 라고 설명에 써있다.
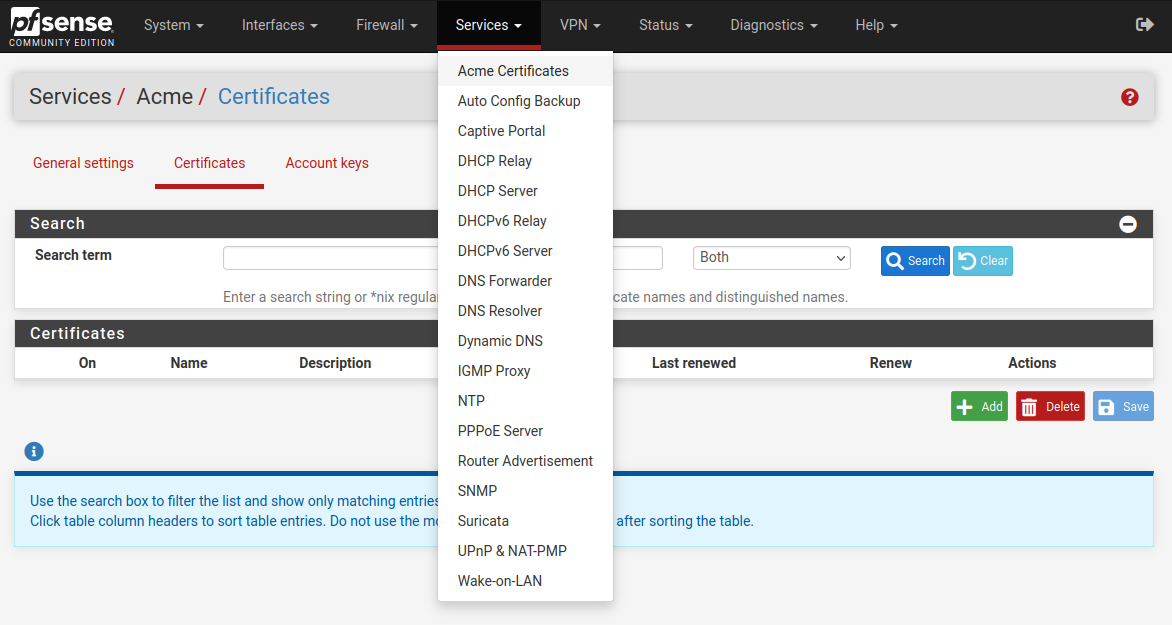
Services 에 Acme Certificates가 추가된다.
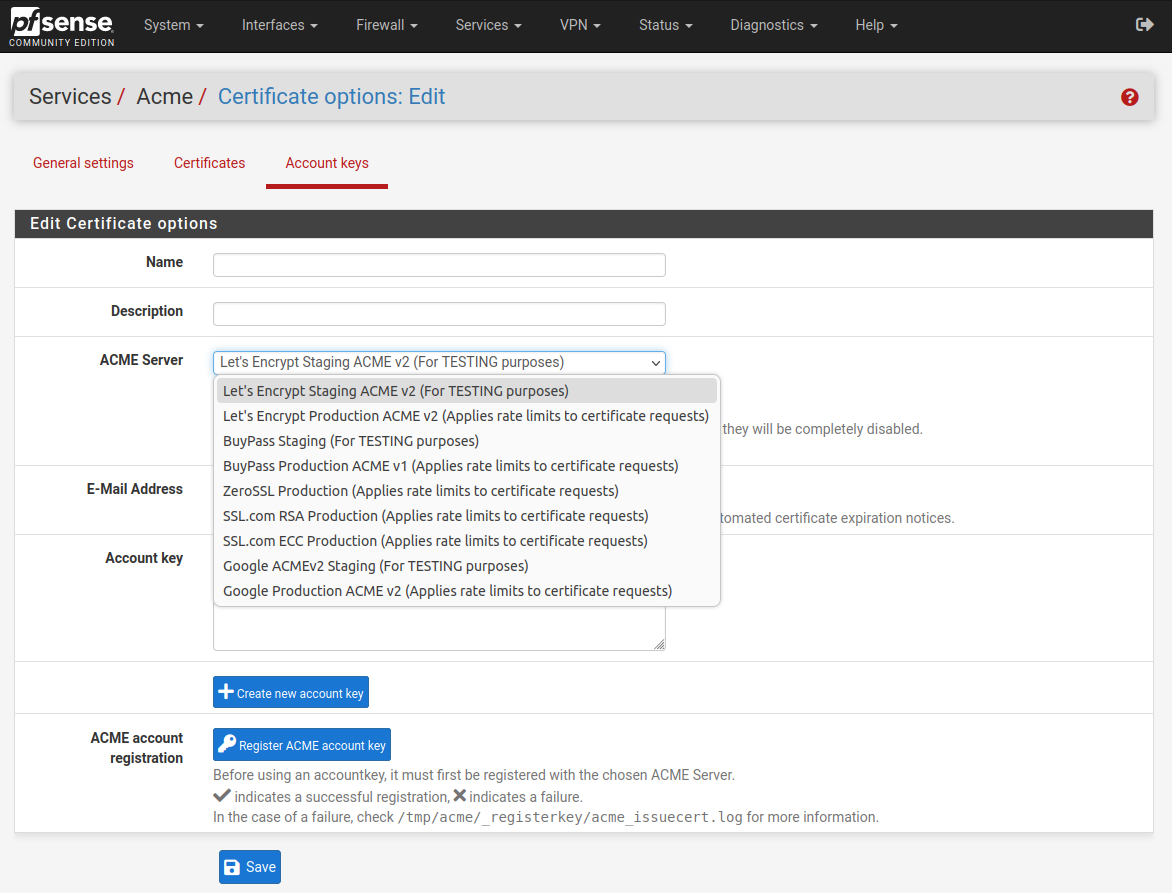
ACME server에 let's encrypt 외에도 먼가 많이 있다.
[링크 : https://docs.netgate.com/pfsense/en/latest/packages/acme/index.html]
'프로그램 사용 > pfsense' 카테고리의 다른 글
| pfsense letsencrypt 인증서 만들기 (0) | 2024.04.16 |
|---|---|
| pfsense let's encrypt wildcard ssl (0) | 2024.04.15 |
| pfsense + proxmox 공유기 만들기 완료(?) (0) | 2024.03.29 |
| pfsense source ip (0) | 2024.03.28 |
| pfsense mac에 ip 할당하기 (0) | 2024.03.22 |


