프로그램 사용/Blender2026. 9. 14. 11:45

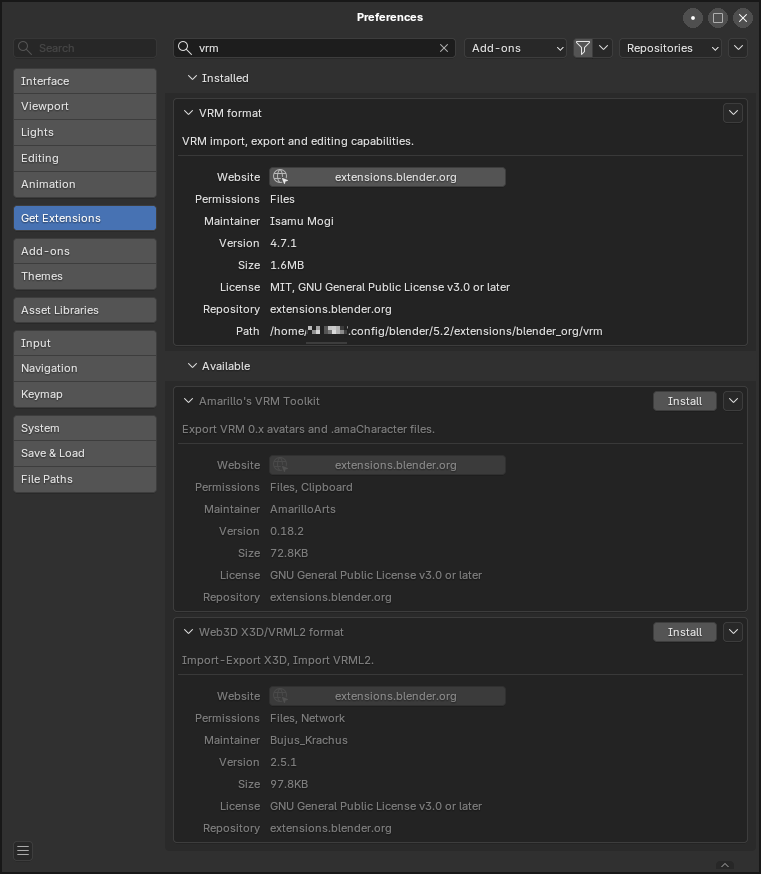
이전에 찾은대로 vrm 플러그인을 설치하고


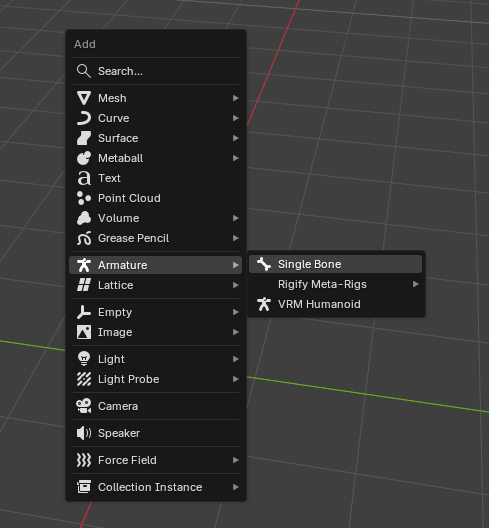
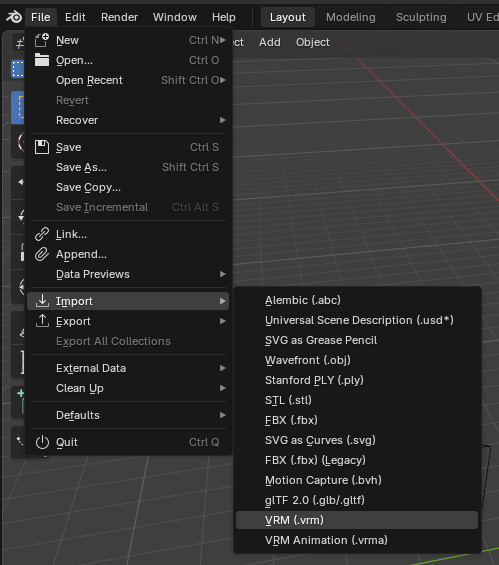
import 에 vrm이 생겼나 보고


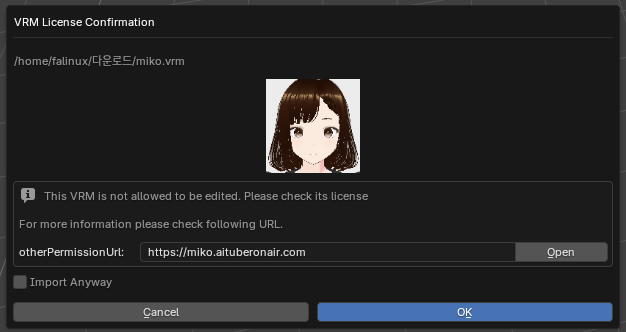
드래그 하면, 어? 창이 뜬다?

import anyway 를 체크하면


커서에 %가 뜨면서 올라간다.

제법 오래걸리네.. 15.4MB 인데

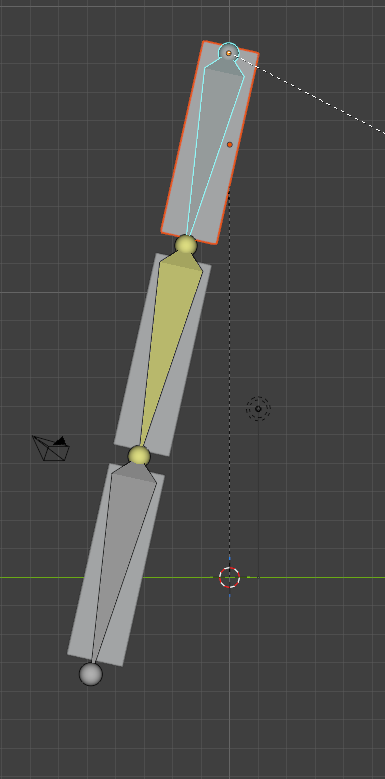
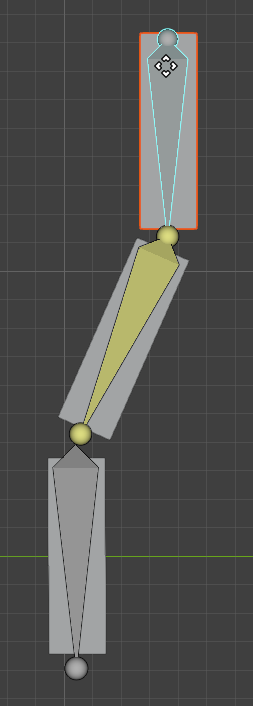
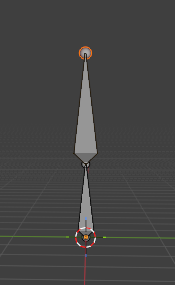
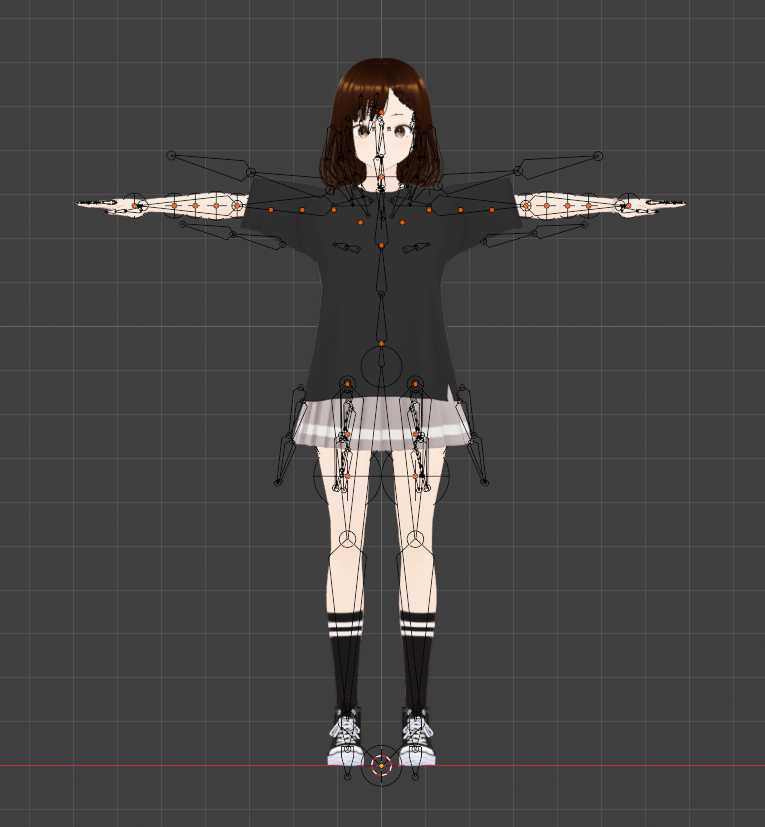
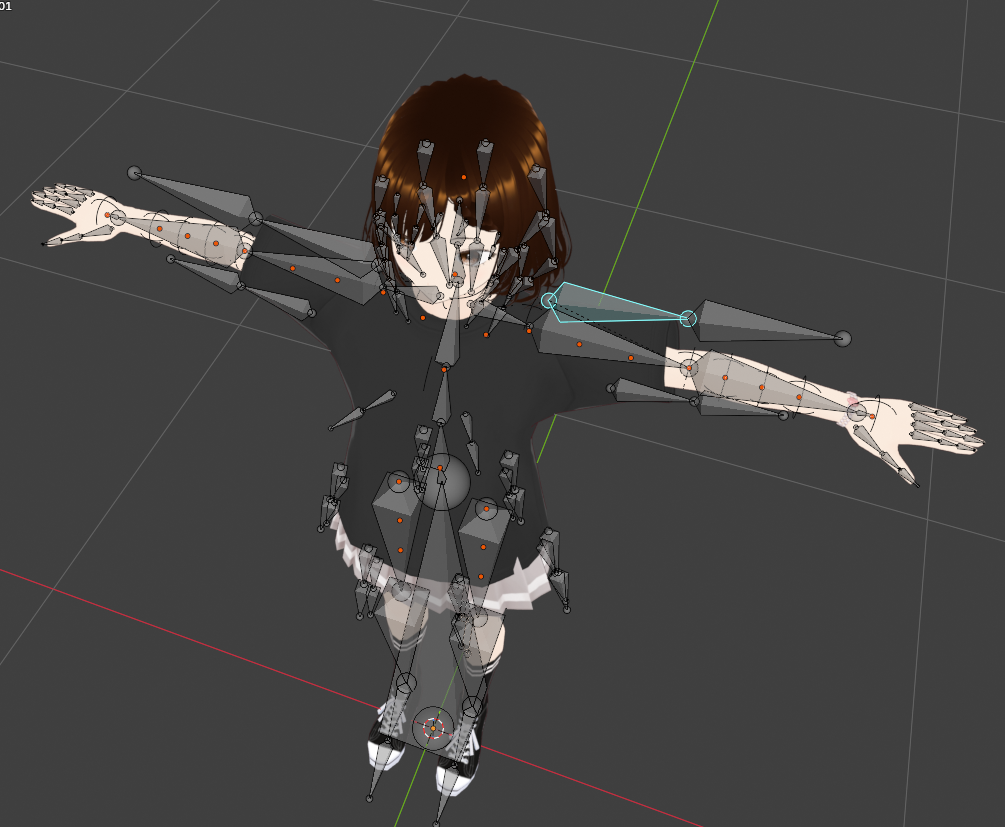
은근히 제어점이 많은데


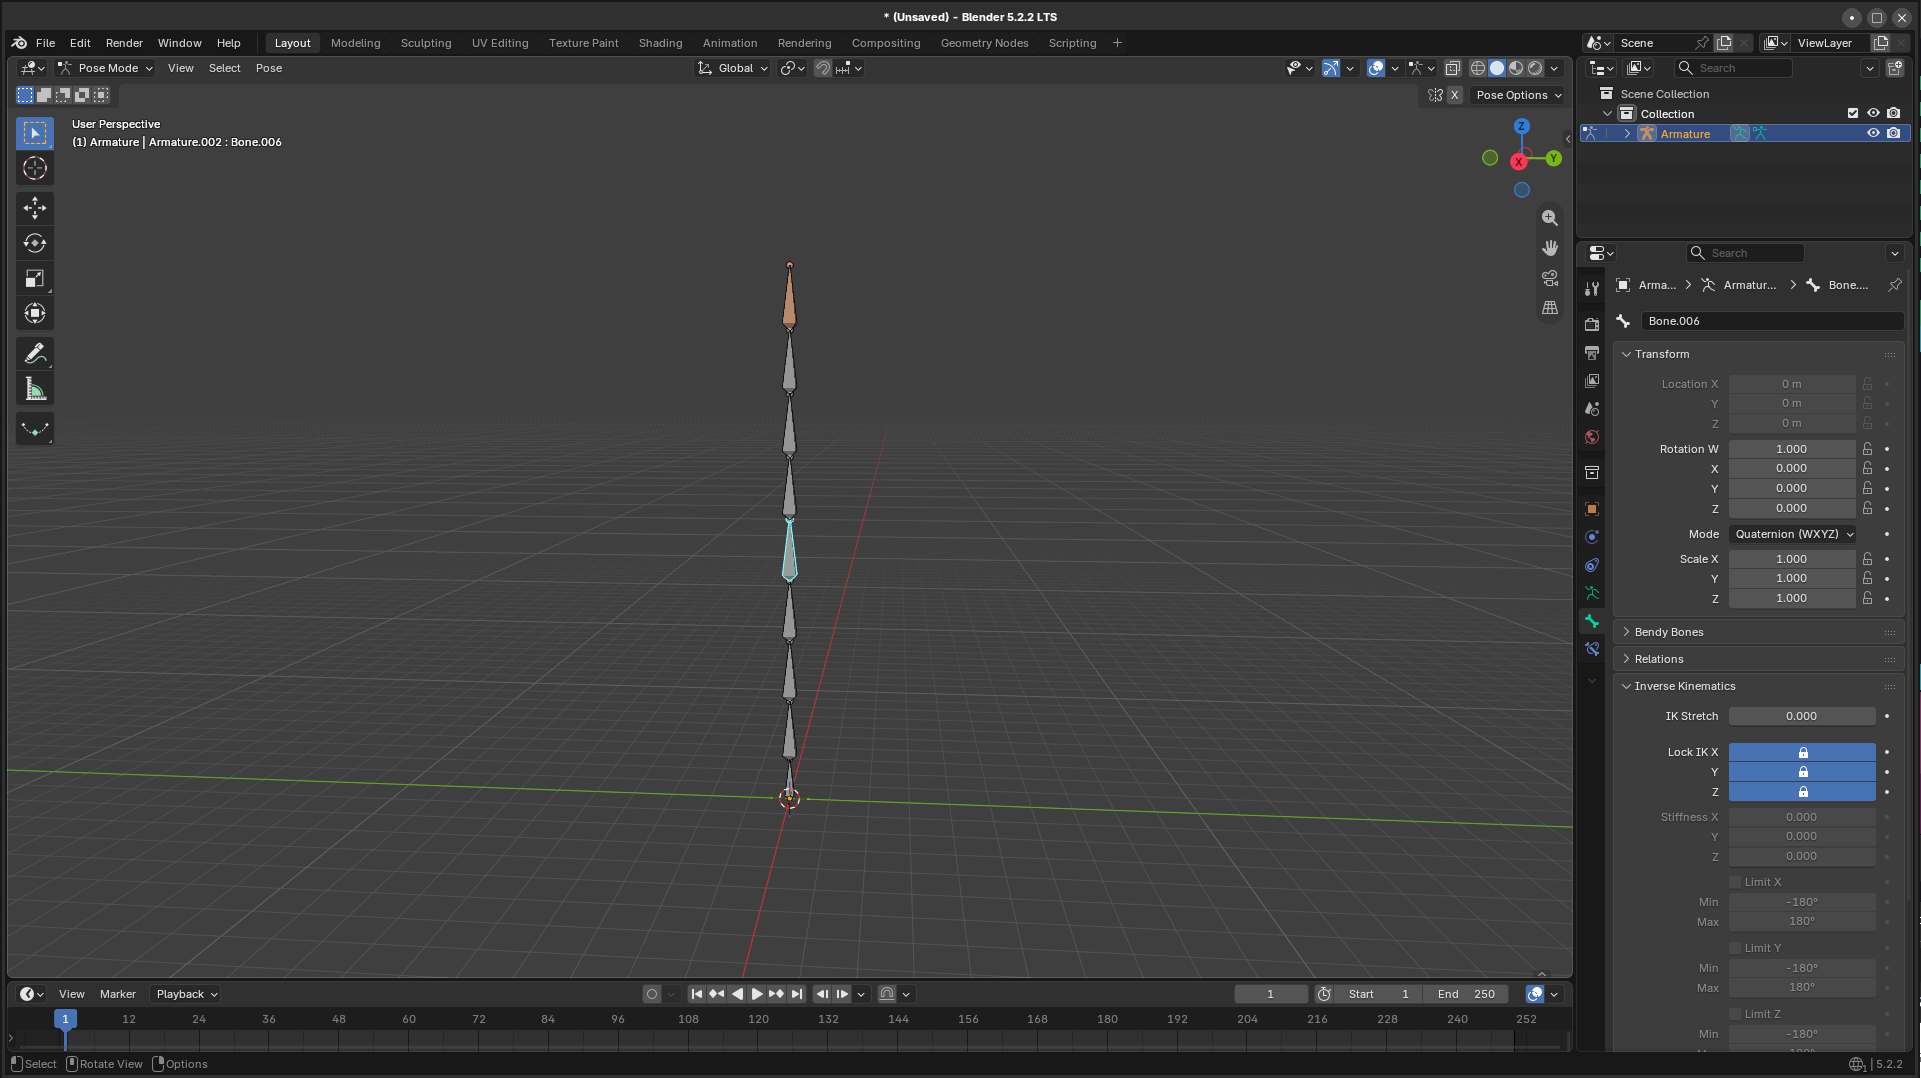
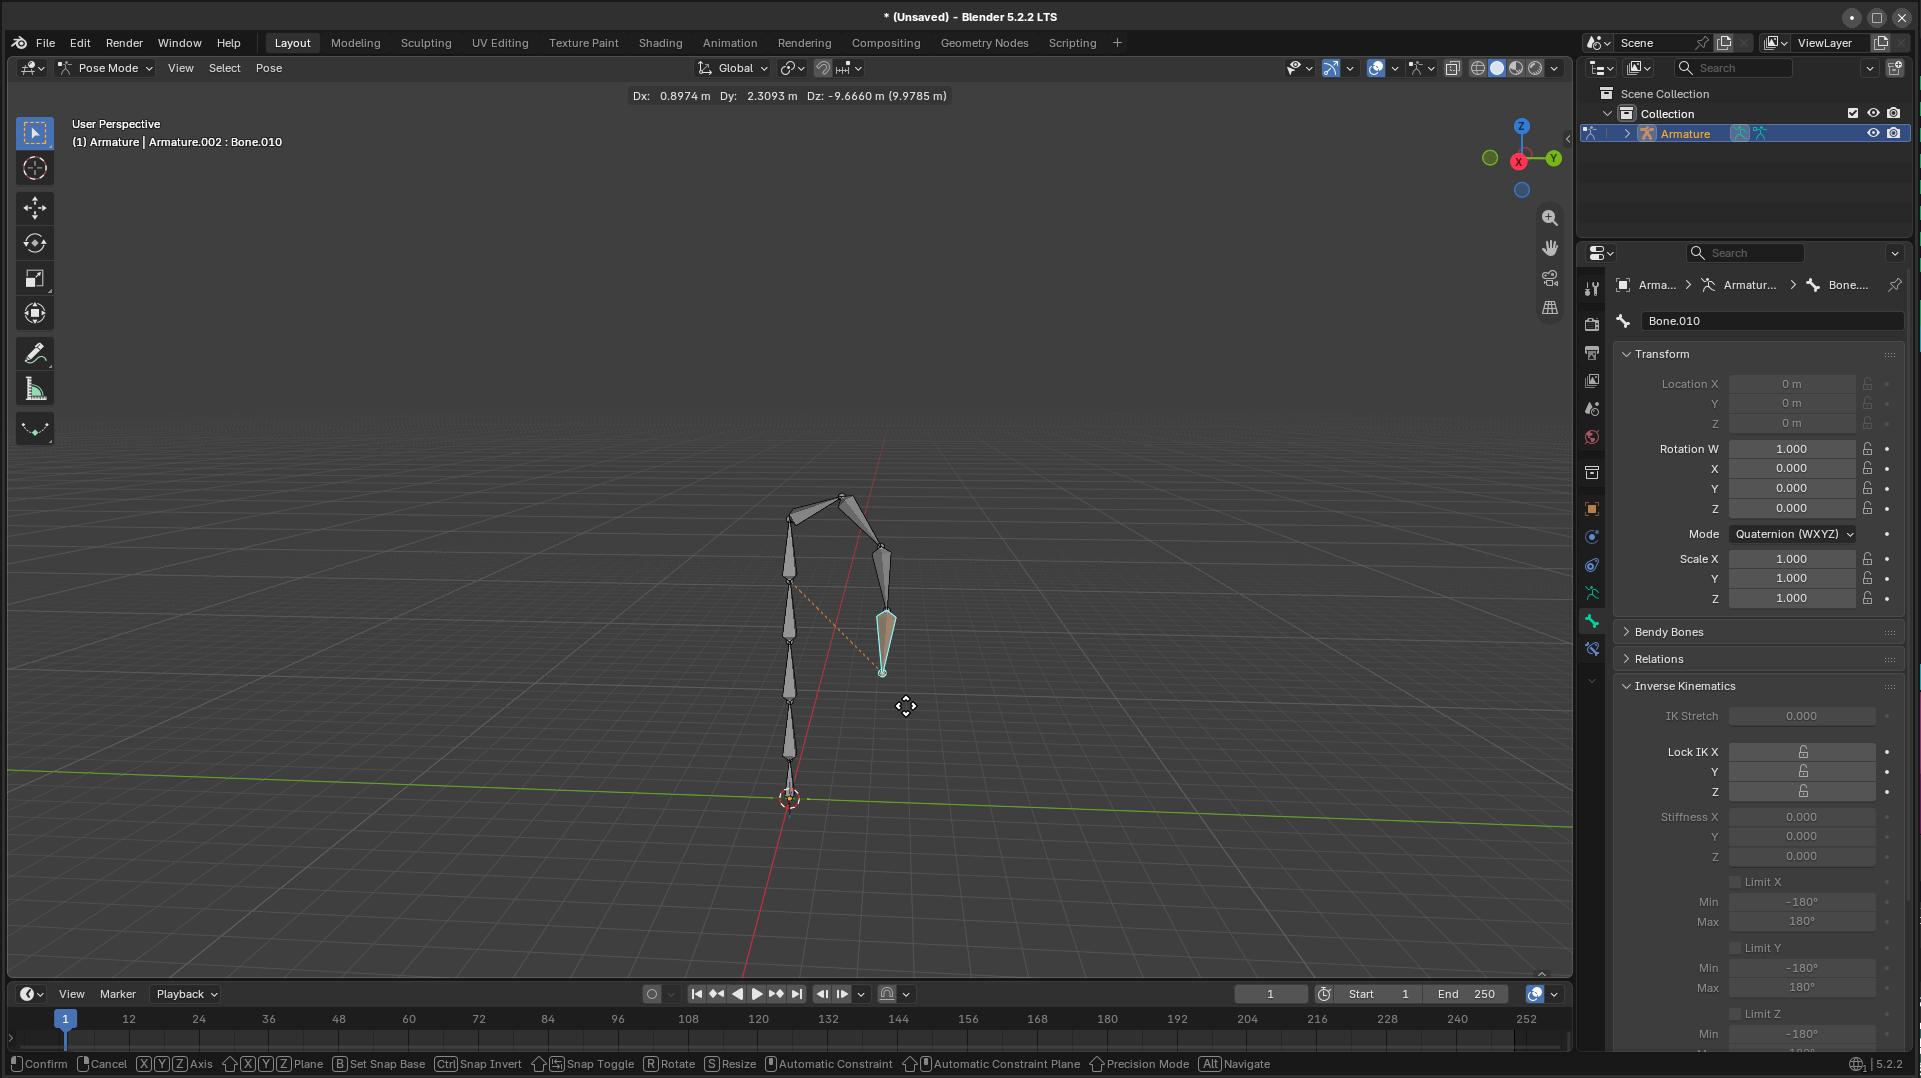
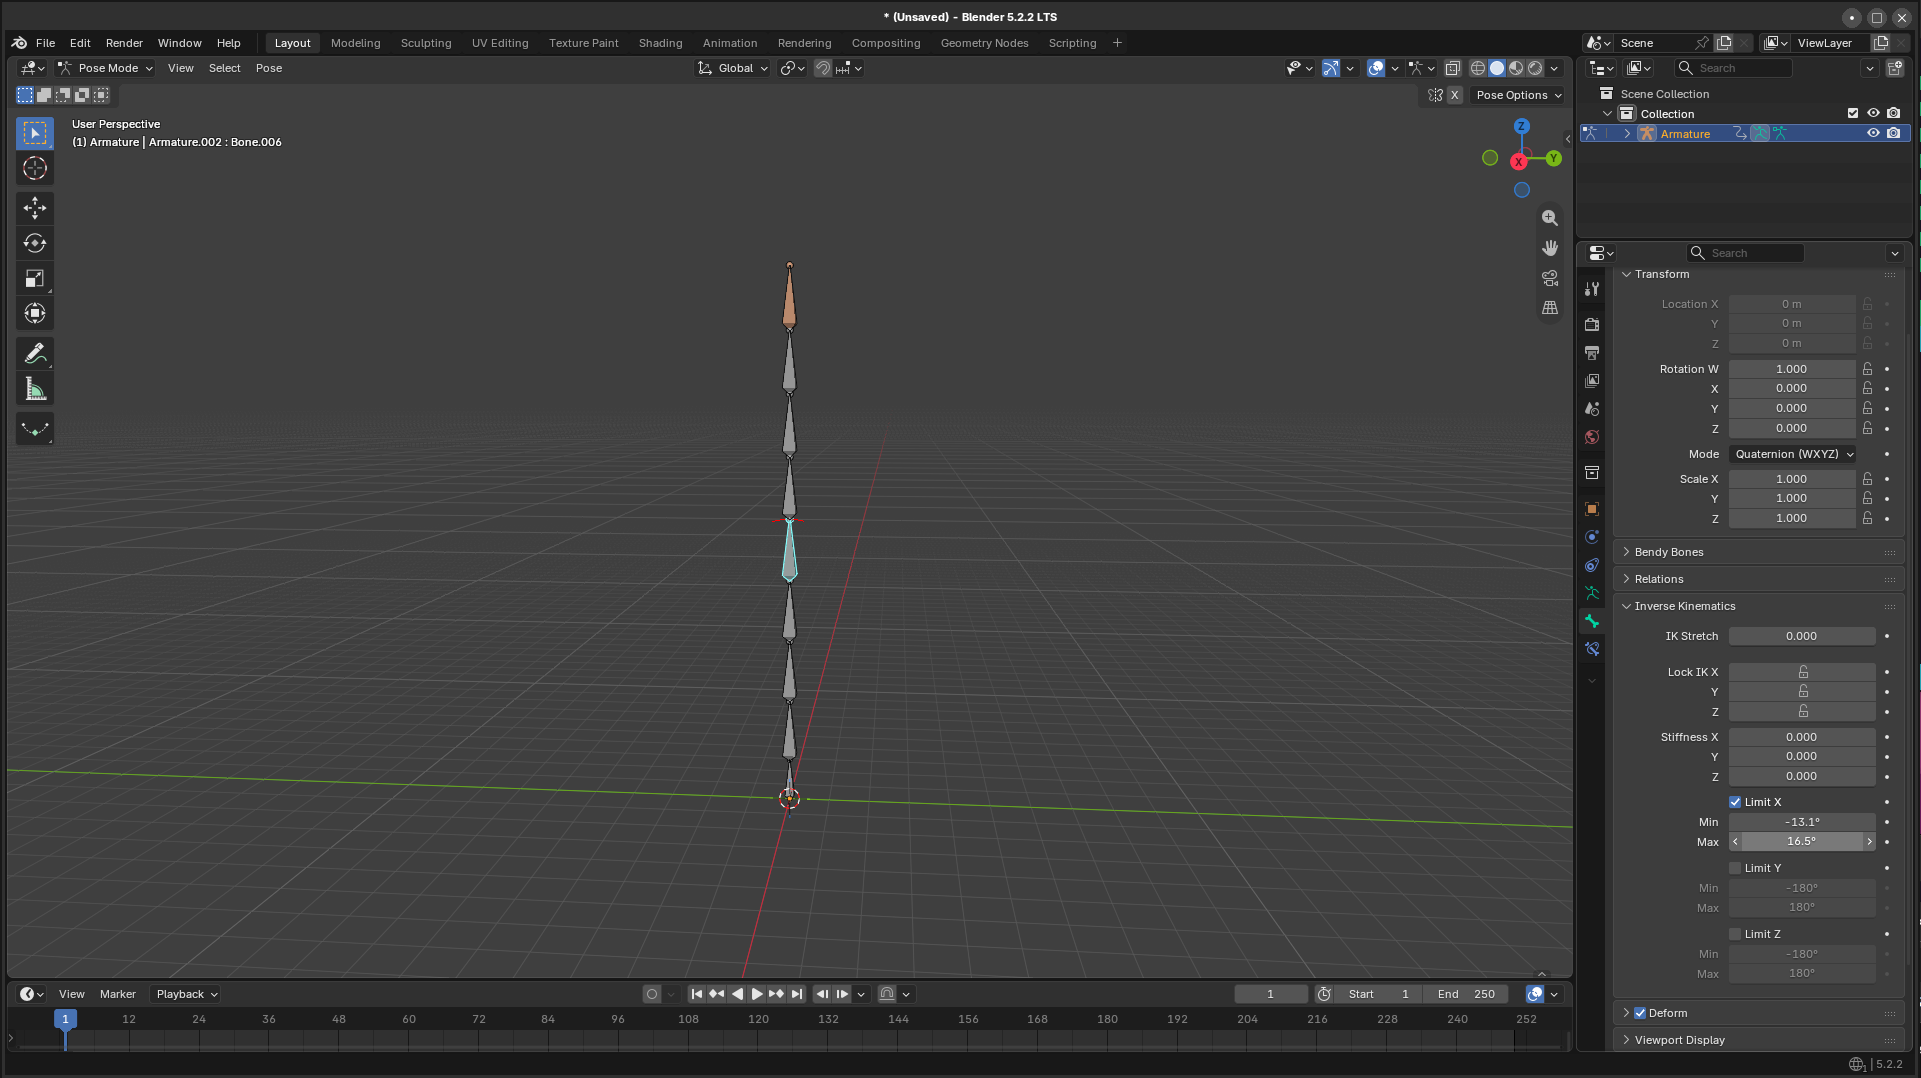
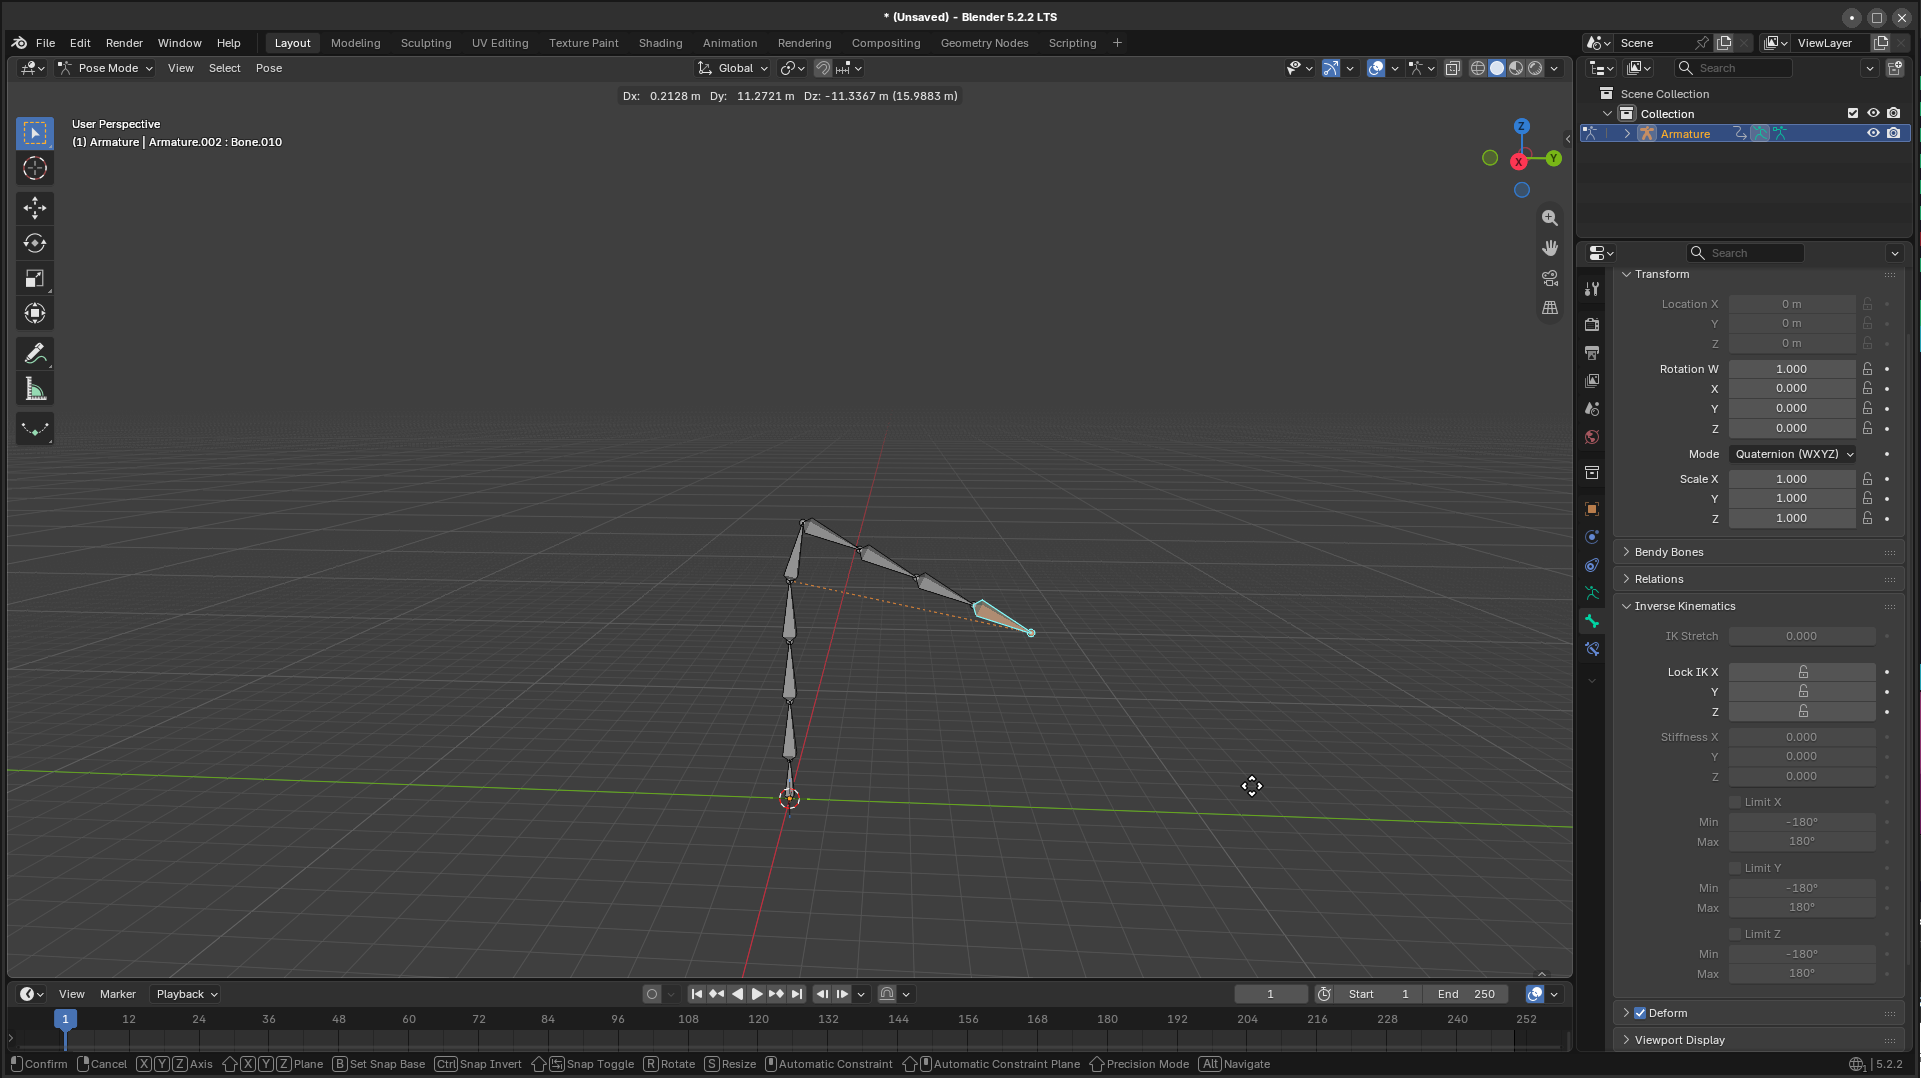
치마랑, 상의도 흔들어 댈수 있게 되어있고

머리카락도 찰랑찰랑이 가능해서 그런듯.


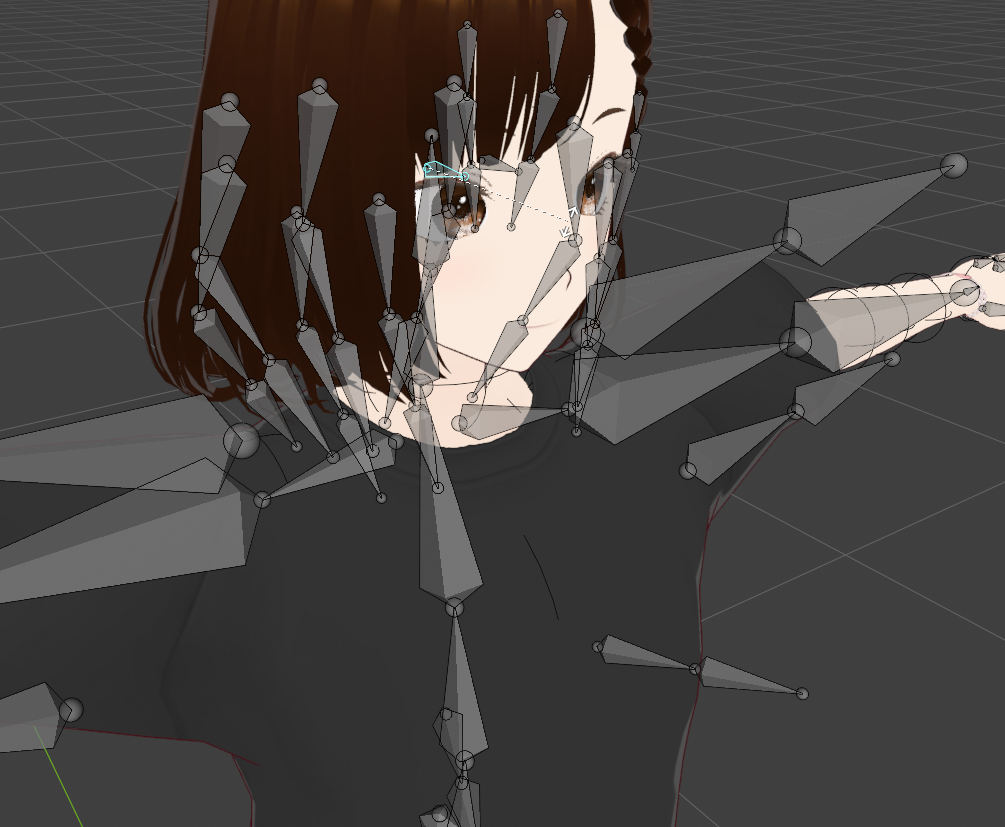
눈은 제법 작게 되어있어서 은근 찾기가 힘들다.


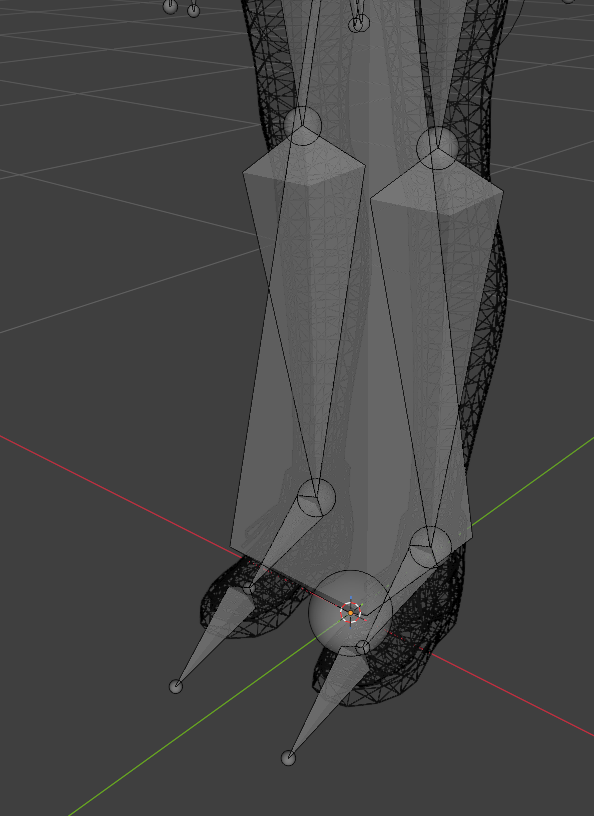
그나저나 손에 비하면 발은 언제나 단순하구만.


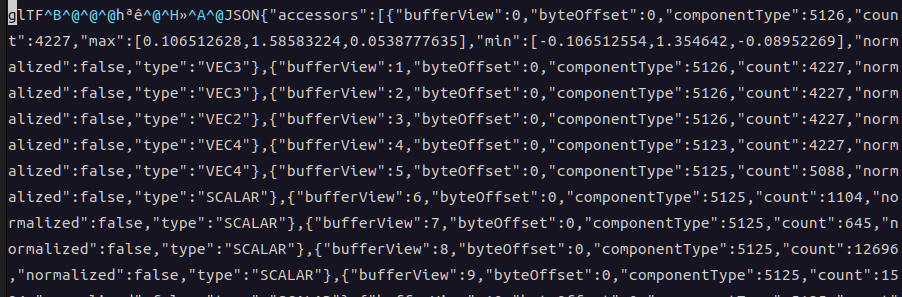
miko.vrm 파일은

glTF 를 기반으로 한 json 파트와, 바이너리로 구성되는 듯?

'프로그램 사용 > Blender' 카테고리의 다른 글

버튜버 모델 miko vrm  (0) 2026.09.09
blender sculpting - trim  (0) 2026.09.04
blender 객체 중심에 오게 하기  (0) 2026.09.04
blender spot light  (0) 2026.09.04
blender eevee / cycle 렌더 헤드리스  (0) 2026.09.04
Posted by 구차니

openSCAD 와 다르게 python / javascript 로 작동되는 파라매트릭 설계 라이브러리


[링크 : https://github.com/gumyr/build123d] python  기반

[링크 : https://fluidcad.io/] javascript 기반

    [링크 : https://wikidocs.net/blog/@jaehong/11371/]

'프로그램 사용 > openSCAD' 카테고리의 다른 글

openSCAD + claude.ai = 파라메트릭 모델링  (0) 2026.07.13
openSCAD MCP  (0) 2026.06.20
pythonSCAD  (0) 2026.06.20
openSCAD cheatsheet  (0) 2026.06.20
openSCAD 설치  (0) 2026.06.20
Posted by 구차니
프로그램 사용/freecad2026. 9. 10. 17:06

freeCAD에서 openFOAM을 이용해서 cfd 할 수 있는 플러그인

솔리드웍스 처럼 통합은 못해도 쓰는게 편하기라도 하면 좋겠네


[링크 : https://blog.naver.com/heennavi1004/223829709527]

[링크 : https://yyman.tistory.com/1053]

[링크 : https://blog.naver.com/localid/222302561603]

'프로그램 사용 > freecad' 카테고리의 다른 글

gemini + freecad  (0) 2025.09.01
claude mcp + freecad  (0) 2025.08.31
freeCAD + openFOAM  (0) 2025.08.29
freecad + MCP  (0) 2025.08.29
freecad on ubuntu 24.04  (0) 2025.05.18
Posted by 구차니

얼핏 보기로는 국제 표준으로 버튜버 모델에 대한게 있다고 하던데 그 샘플인가?

 [링크 : https://miko.aituberonair.com/ko/]


음.. 일단 플러그인도 있으니 나중에 시도는 해봐야겠다.

[링크 : https://vrm-addon-for-blender.info/en-us/]

'프로그램 사용 > Blender' 카테고리의 다른 글

blender vrm import + miko  (0) 2026.09.14
blender sculpting - trim  (0) 2026.09.04
blender 객체 중심에 오게 하기  (0) 2026.09.04
blender spot light  (0) 2026.09.04
blender eevee / cycle 렌더 헤드리스  (0) 2026.09.04
Posted by 구차니

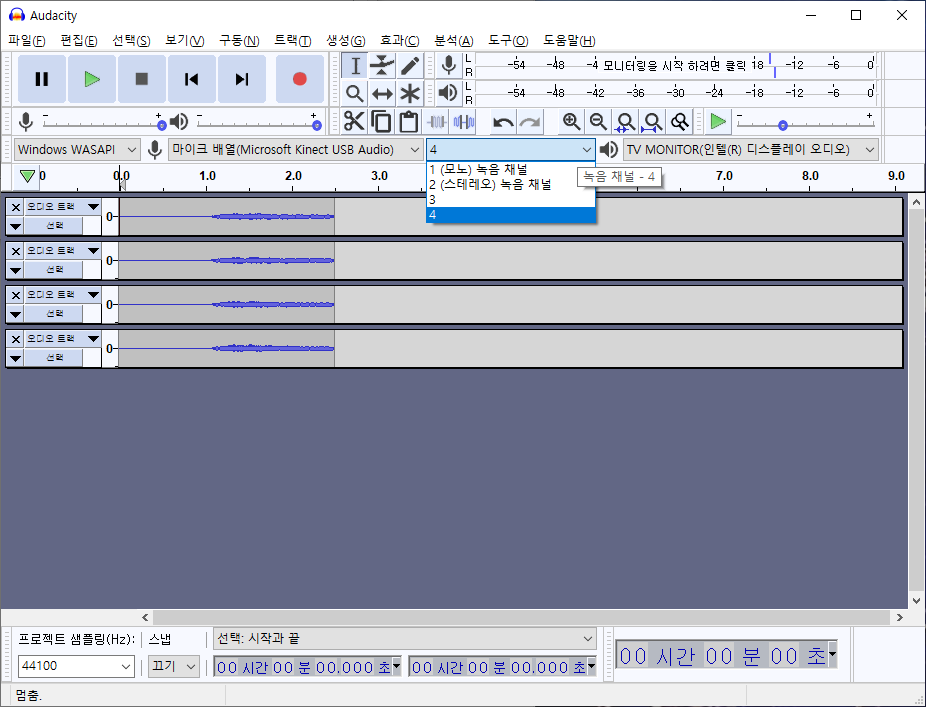
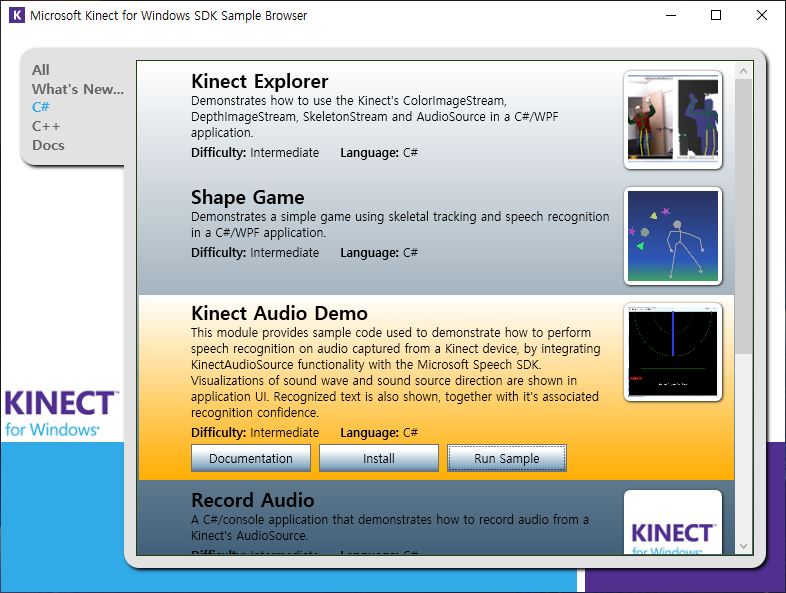
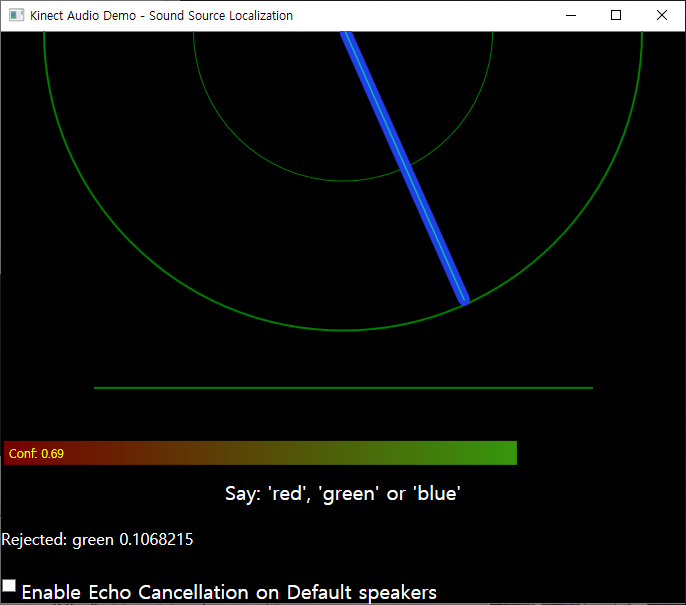
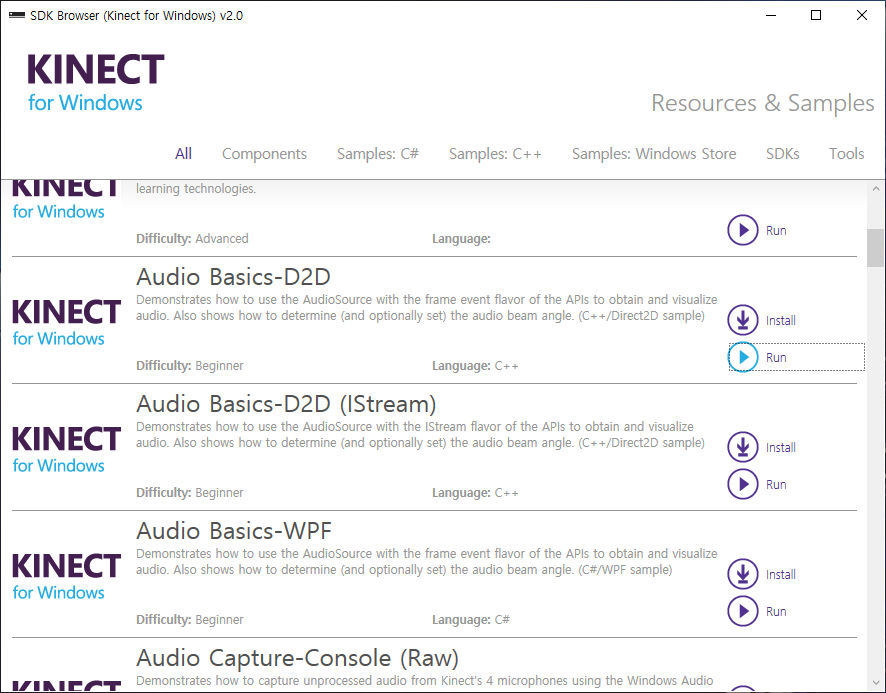
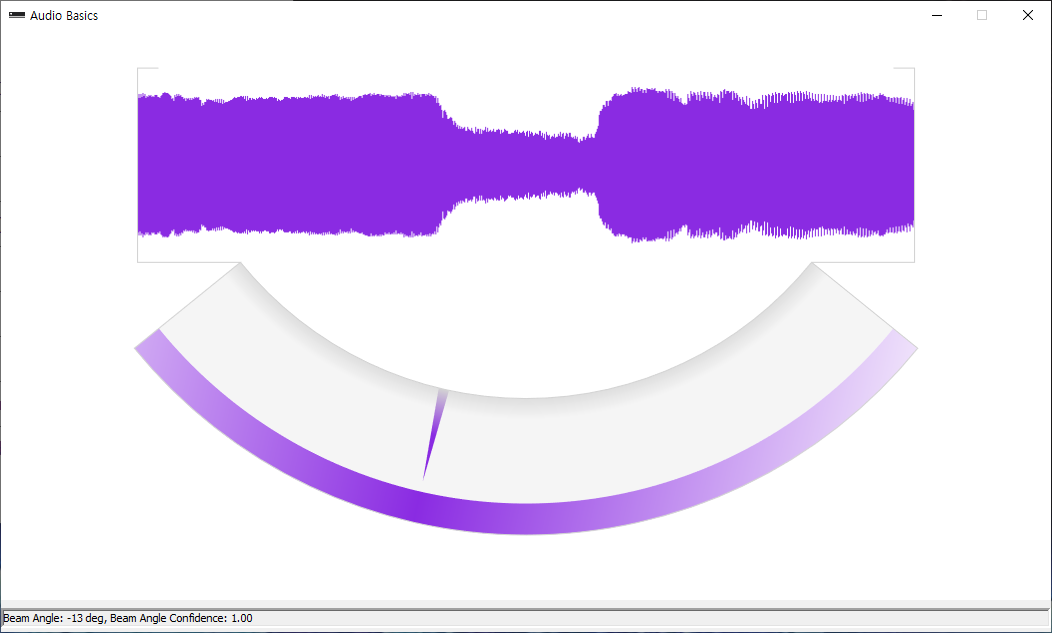
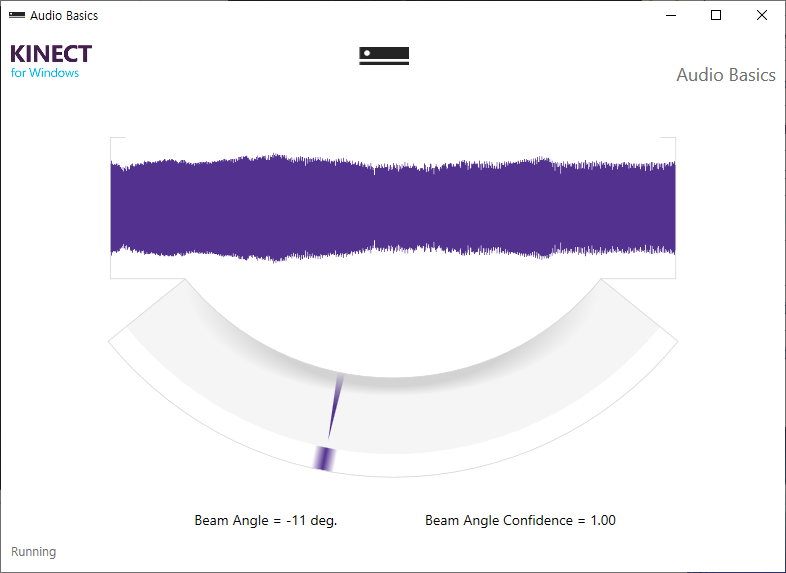
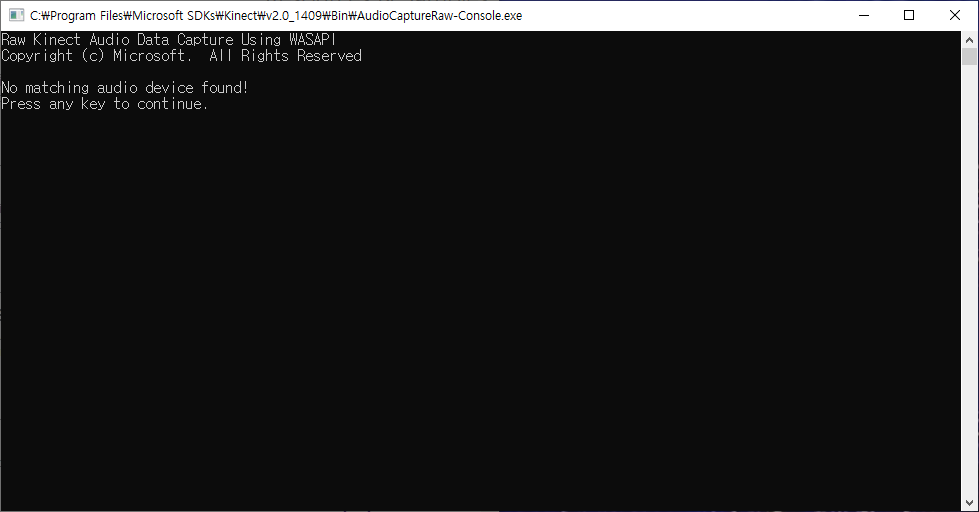
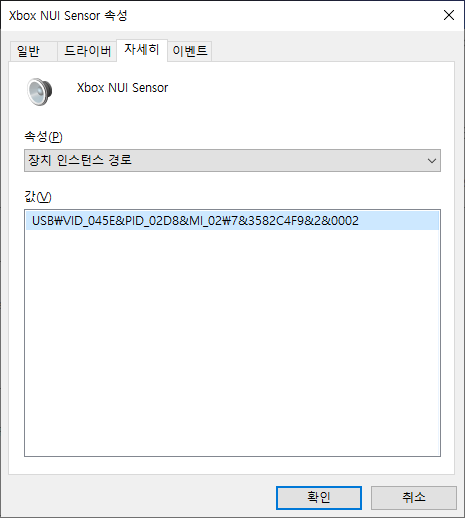
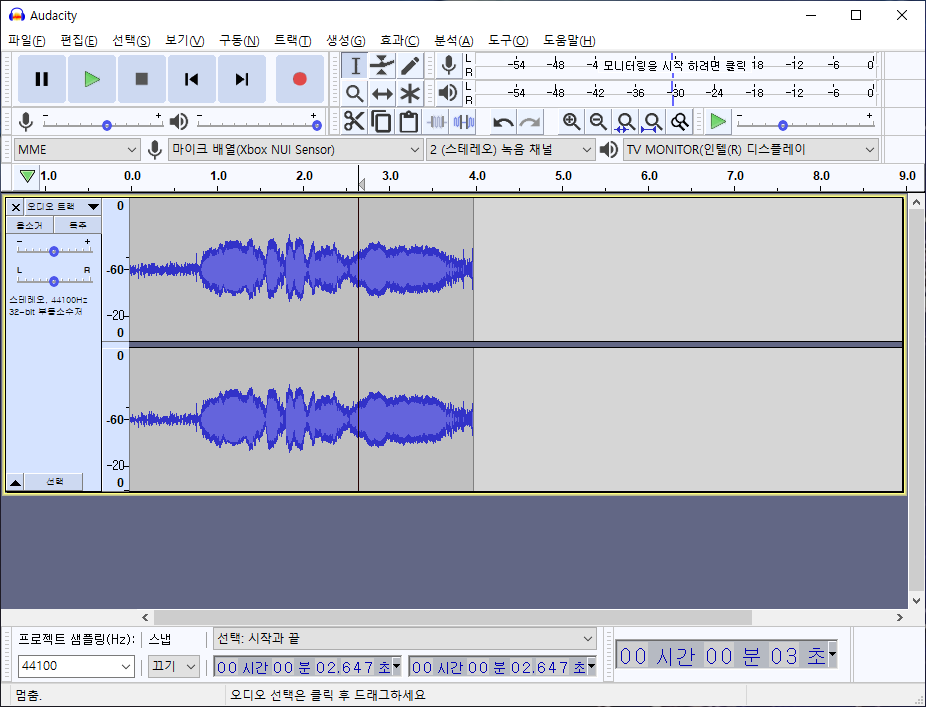
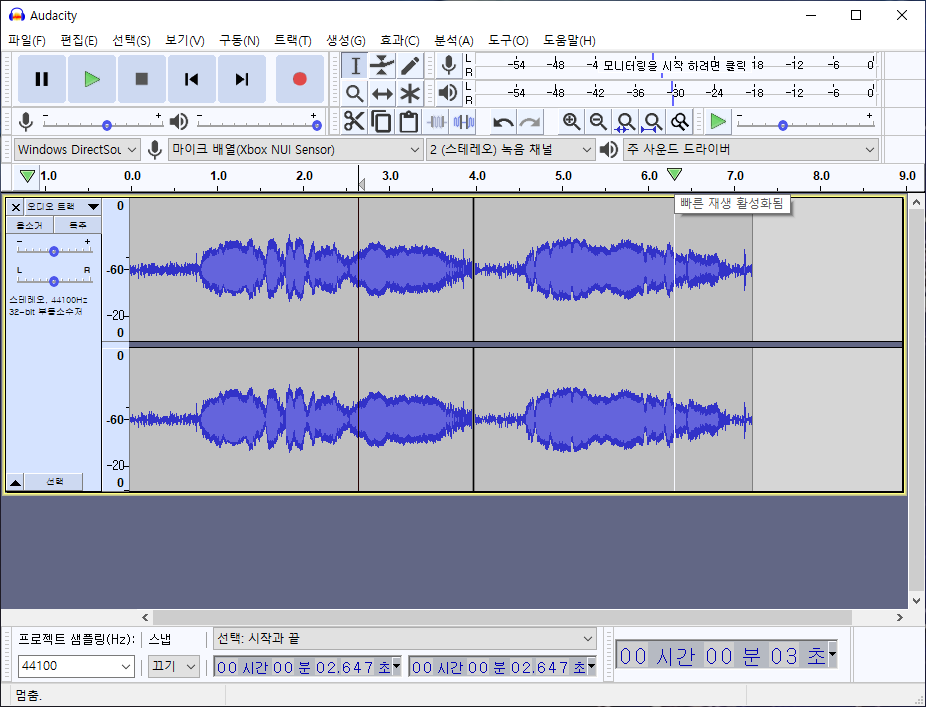
kinect 에서 사운드 array를 이용해서 방향을 측정할수 있다곤 하는데

libfreenect 에는 사운드 관련 api가 존재 하지만

libfreenect2 에서는 아예 없어서 odas나 tdoa 라이브러리 쓰라고 해서 찾아보는 중


ODAS (Open embeddeD Audition System) 

[링크 : https://github.com/introlab/odas]

[링크 : https://www.frontiersin.org/journals/robotics-and-ai/articles/10.3389/frobt.2022.854444/full]


TWR (Two Way Ranging)

TDoA (Time Differnce of Arrival)

[링크 : https://github.com/AlexisTM/MultilaterationTDOA]

[링크 : https://grow-space.io/blog/uwb-측위-방식의-양대-산맥-twrtwo-way-ranging-vs-tdoatime-difference-of-arrival-비교/]

[링크 : https://m.blog.naver.com/intknk2/221510943339]

Posted by 구차니

언제나 그렇듯 기본도형으로 시작!

sculpt mode

왼쪽 툴바에서 중간쯤에 가위 있는거 꾸욱 누르면 box trim


드래그해서 자를 곳을 찾으면


뿅~ 이걸로 이제 소방관 다리 찢어야지 ㅋㅋㅋ

[링크 : https://www.youtube.com/shorts/u1dm7jYhL-Q]

'프로그램 사용 > Blender' 카테고리의 다른 글

blender vrm import + miko  (0) 2026.09.14
버튜버 모델 miko vrm  (0) 2026.09.09
blender 객체 중심에 오게 하기  (0) 2026.09.04
blender spot light  (0) 2026.09.04
blender eevee / cycle 렌더 헤드리스  (0) 2026.09.04
Posted by 구차니

와.. 쩜 누르면 된다.(keypad)


처음 추가된 녀석이 중심


object mode에서 다른 cube 선택하고


키패드 . 을 누르면 얼빡!


축소해서 회전해보면 딱 얘가 중심에 잡힌다.

'프로그램 사용 > Blender' 카테고리의 다른 글

버튜버 모델 miko vrm  (0) 2026.09.09
blender sculpting - trim  (0) 2026.09.04
blender spot light  (0) 2026.09.04
blender eevee / cycle 렌더 헤드리스  (0) 2026.09.04
blender 창 나누기. 카메라 뷰 보기  (0) 2026.08.28
Posted by 구차니

이전 렌더링에서 빛이 산란하지 않고 그냥 레이저 처럼 직사로 와서

그림자가 완전 각지는 문제가 있었는데

그걸 이렇게 하면 좀 부드럽게 퍼진다고 한다.


아래는 claude 가 개선한 코드인데

        light_data.energy = random.uniform(*LIGHT_ENERGY_RANGE)
        light_data.shadow_soft_size = random.uniform(*LIGHT_SHADOW_SOFT_SIZE_RANGE)
        light_data.spot_size = random.uniform(*LIGHT_SPOT_SIZE_RANGE)
        light_data.spot_blend = random.uniform(*LIGHT_SPOT_BLEND_RANGE)


energy는 power에 대응되는것 같고, shadow_soft_size는 radius에 대응되는것 같다.

아 쫌 용어 통일하라고 ㅠㅠ api에 맞추던가 아니면 api를 ui에 맞추던가!

energy
The energy this light would emit over its entire area if it wasn’t limited by the spot angle, in units of radiant power (W) (in [-inf, inf], default 10.0)

shadow_soft_size
Light size for ray shadow sampling (Raytraced shadows) (in [0, inf], default 0.0)

spot_size
Angular diameter of the spotlight beam (in [0.0174533, 3.14159], default 0.785398)

spot_blend
The softness of the spotlight edge (in [0, 1], default 0.15)

[링크 : https://docs.blender.org/api/current/bpy.types.SpotLight.html]


초기값


power 올림


radius 0.2로 변경


Posted by 구차니

노트북에서는 오히려 학습 데이터 생성이 빠른데

데스크탑에서 느려서 확인해보니


노트북에서는 이렇게 nvtop 돌리니까 gpu를 사용한다.


아무튼.. claude 말로는 cycles 돌리면 빨라진다는데 흐음.. cycles는 raytracing쪽 설정때문에 잘 모르겠던데..


eevee는 gpu 렌더러라 gpu가 없으면 작동안한다고. 그런데 왜.. headless 구성에 영향을 받지?

EEVEE is a GPU renderer. You cannot use it without a GPU. It can only use GPU to render, doesn't even support CPU rendering. This means it uses whatever week GPU you have and, sure it can run out of memory and stop being able to cope very quickly.   CommentedDec 15, 2024 at 16:42

[링크 : https://blender.stackexchange.com/questions/328484/when-using-rendering-in-blender-using-eevee-without-a-gpu-does-lighting-behave]

[링크 : https://blender.stackexchange.com/questions/230728/is-there-no-way-of-rendering-headless-using-eevee]


CPU Rendering
Being a rasterization engine, EEVEE only uses the power of the GPU to render. There is no plan to support CPU (software) rendering as it would be very inefficient. CPU power is still needed to handle high scene complexity as the geometry must be prepared by the CPU before rendering each frame.

[링크 : https://docs.blender.org/manual/en/latest/render/eevee/limitations/limitations.html#cpu-rendering]


아무튼 bpy 에서는 아래처럼 cycles를 설정하면 헤드리스 설정이라도 gpu 가속 잘 받는다고

scene = bpy.context.scene

scene.render.engine = "CYCLES"
scene.cycles.device = "GPU"
scene.cycles.samples = CYCLES_SAMPLES
scene.cycles.use_denoising = CYCLES_USE_DENOISING

'프로그램 사용 > Blender' 카테고리의 다른 글

blender 객체 중심에 오게 하기  (0) 2026.09.04
blender spot light  (0) 2026.09.04
blender 창 나누기. 카메라 뷰 보기  (0) 2026.08.28
blender sculpting - dynatopo, grab  (0) 2026.08.06
blender 5.x sculpting  (0) 2026.07.29
Posted by 구차니
프로그램 사용/Blender2026. 8. 28. 10:45

창을 띄우고 모델을 불러오고


창 크기 조절하듯 경계선 밖에 가서 + 로 커서가 바뀌었을 때 우클릭하면


아래처럼 split / join이 뜬다.

그럼 split 해주고


원하는 창을 나누고 클릭하면 된다.


오른쪽 창은 숫자키패드 0 눌러서 카메라 뷰로 바꾸고

왼쪽에서 조절하면 렌더하면서 일일이 안봐도 되서 딱이네


[링크 : https://kimslo.tistory.com/entry/Blender-화면나누기-화면합치기]

'프로그램 사용 > Blender' 카테고리의 다른 글

blender spot light  (0) 2026.09.04
blender eevee / cycle 렌더 헤드리스  (0) 2026.09.04
blender sculpting - dynatopo, grab  (0) 2026.08.06
blender 5.x sculpting  (0) 2026.07.29
blender export render/viewport  (0) 2026.07.29
Posted by 구차니